The flexible connection behind a clothes dryer is often called a dryer vent hose, but the safer technical description is a dryer transition duct.
This short duct connects the dryer outlet to the fixed exhaust duct in the wall or floor. The permanent exhaust system should carry hot, moist, lint-filled air to the exterior of the building.
Dryer vent installation affects drying performance, energy use, moisture control, and fire safety. The dryer manufacturer’s installation instructions and local building code should always take priority over a general guide.
For most residential installations, the exhaust system should use smooth rigid or semi-rigid metal ducting with a nominal 4-inch diameter. Model-code guidance calls for metal dryer exhaust duct with a smooth interior, while the exhaust must terminate outside the building.
Avoid using:
Ordinary plastic hose
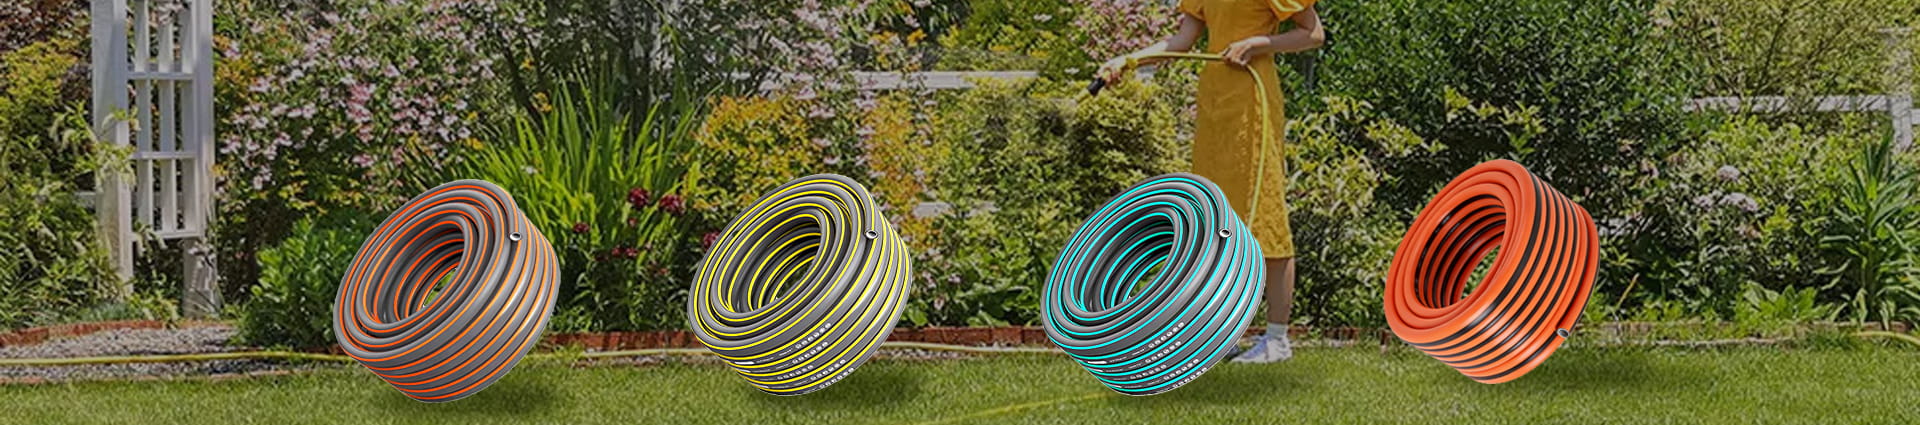
PVC Garden Hose
Vinyl duct
Thin unsupported foil tubing
A damaged or crushed transition duct
A duct smaller than the dryer outlet
A screen that can trap lint at the exterior termination
The exterior outlet normally requires a backdraft damper, but screens should not be installed at the termination because lint can accumulate and block airflow.
Read the manual for the actual dryer model. Confirm:
Outlet diameter
Maximum duct length
Allowed transition-duct type
Permitted number of bends
Required clearances
Exterior termination position
Instructions for gas or electric models
For a gas dryer, work involving the gas connection should be completed by a qualified professional. Turn off the electrical supply before moving or connecting any dryer.
Prepare:
Listed metal transition duct
Rigid or semi-rigid metal exhaust duct
Metal clamps
Foil HVAC tape approved for duct joints
Exterior vent hood with backdraft damper
Measuring tape
Tin snips where appropriate
Screwdriver or nut driver
Work gloves
Vacuum for removing lint
Do not use ordinary fabric-backed “duct tape.” Heat and age can weaken its adhesive.
The most effective route is short, direct, and free from unnecessary bends.
Every sharp turn adds resistance and creates another place where lint can collect. The total permitted length depends on the dryer manufacturer and the number and type of elbows used.
Avoid routing the exhaust:
Into an attic
Into a crawl space
Into a garage
Into a wall cavity
Beneath a floor without an exterior outlet
Near an opening where moist air can return indoors
Residential dryer exhaust is intended to terminate outdoors.
Before attaching the dryer, check the fixed exhaust connection.
Look for:
Heavy lint buildup
Crushed metal
Loose joints
Corrosion
Water staining
A blocked exterior flap
A screen over the exterior opening
Screws protruding into the airflow path
Clean or repair the existing duct before connecting a new transition piece.
Slide the metal transition duct over the dryer exhaust collar.
Secure it with a proper clamp. Tighten the clamp enough to hold the duct without crushing the dryer outlet.
If the connection requires sealing, use appropriate metal foil tape around the outside of the joint. Do not drive long screws into the duct where they can catch lint.
Position the dryer close enough for a short connection but leave enough space to work.
Attach the other end of the transition duct to the wall or floor exhaust collar. Secure it with a clamp and seal the exterior of the joint where required.
The duct should not be:
Stretched tightly
Folded over itself
Crushed behind the dryer
Sagging in a deep loop
Twisted around pipes
Pressed against sharp edges
Push the dryer back slowly while watching the duct.
This is where many installations fail. A correctly attached transition duct can become flattened when the appliance is moved too close to the wall.
Use a recessed dryer box or suitable offset arrangement when the room provides limited clearance.
Reconnect the electrical supply and operate the dryer according to the manufacturer’s instructions.
Check:
Air leaving the exterior vent
Backdraft damper opening freely
No air escaping at joints
No rattling metal
No unusual heat behind the dryer
No crushed section in the transition duct
Weak airflow may indicate a blockage, an excessive run, a damaged duct, or an exterior termination problem.
Flexible PVC water hose is designed for fluid transfer, not hot lint-filled dryer exhaust. It should not be substituted for a listed metal transition duct.
Extra loops behind the dryer reduce airflow and collect lint.
Each bend increases resistance. Follow the dryer manufacturer’s equivalent-length instructions.
A screen may look useful for blocking insects, but it can trap lint and restrict airflow.
Transition ducts are generally intended to remain accessible between the appliance and the fixed exhaust system. Concealed portions should follow the approved rigid-duct design and applicable code.
Our factory specializes in application-specific PVC hoses for garden watering, gas delivery, high-pressure use, air, showers, and washing machines. We provide OEM and ODM customization based on the transported medium, dimensions, pressure, reinforcement, fittings, and target market.
Dryer exhaust duct is not listed among our main PVC hose categories. This distinction is important: a product designed for water, gas, or air pressure should not automatically be used for hot appliance exhaust.
A correct dryer connection uses approved metal ducting, follows the dryer manual, takes the shortest practical route, and terminates outdoors through a backdraft damper.
After installation, keep the duct accessible, inspect the exterior outlet, and remove lint regularly. A neat-looking connection is not enough if the duct is crushed or the airflow is restricted.
Previous: What Size Is Garden Hose Thread?
Next: What Is A Hose Bib?